Using the High performance power plan (Windows)
- Live Versions: All
- Operating System: Windows
Windows sets all computers to a “Balanced” power plan by default but there are also “Power saver” and “High performance” plans. Your PC manufacturer may even have their own custom power plans.
If your power plan is set to “Balanced” or “Power saver” and you’re experiencing issues like audio crackles, dropouts or other negative performance issues, we recommend switching to the “High performance” power plan. It uses more energy, but should increase the performance of Live (and other CPU intensive programs).
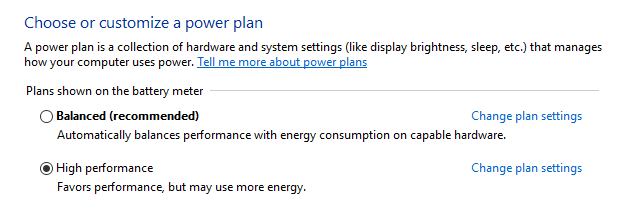
How to enable the High performance power plan
- Open Control panel and go to Power Options.
- Then choose the High Performance plan:
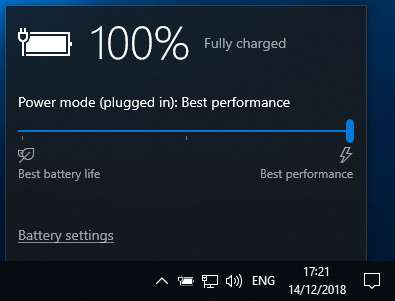
In case your build of Windows 10 does not include the option to select a high performance plan, click on the battery indicator and move the slider to “Best performance”:
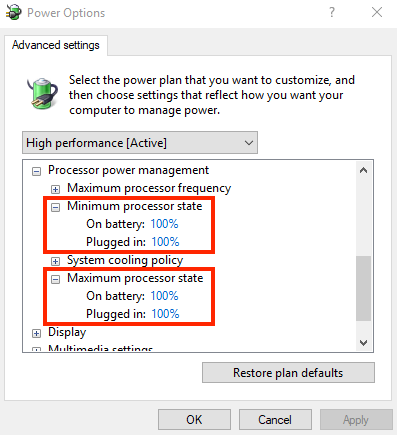
How to adjust minimum and maximum processor state
This could already solve your performance issues in Live. If necessary, you can also adjust the minimum and maximum processor state in the advanced settings.
- Click Change Plan Settings -> Change Advanced Plan Setting -> Processor Power Management.
- Then expand minimum and maximum processor state and set all to 100% as shown here: